How to Make Videos a Smaller File Size: A Coach's Guide
Coachful

You finish a coaching session, save the recording, and see a file so large it changes the rest of your day. The upload drags. Your internet slows down. You start wondering whether the client will even be able to open it smoothly on a phone or laptop.
That problem isn't really about video editing. It's about client experience, speed, and professionalism.
If you've been searching for how to make videos a smaller file size, most advice sends you straight into codec jargon with very little context for coaching workflows. Coaches don't need a film school lecture. They need a repeatable way to prep session replays, training modules, and check-in videos so uploads are reliable and playback looks clean.
I know this sounds complex at first, but the process gets simple once you stop trying to make videos “as small as possible” and start making them small enough for the platform, clean enough for the client, and fast enough for your week.
Why Your Huge Video Files Hurt Your Coaching Business
A large video file usually shows up at the worst time. You just wrapped a strong session. You want to send the replay while the conversation is still fresh. Instead, you're stuck watching an upload bar crawl forward and hoping the file doesn't fail at the end.
That delay changes how your coaching feels to the client. Fast follow-up feels organized. Slow delivery feels improvised, even when the session itself was excellent.
The problem isn't just storage
Coaches often think the issue is “my laptop is full” or “my Wi-Fi is slow.” Those are real problems, but they aren't the whole story. Oversized files affect the full chain:
- Your time gets eaten up: A replay that should be shared quickly turns into a background task you keep checking.
- Your client gets friction: If playback stutters or the download takes forever, clients postpone watching.
- Your systems get messy: Huge files encourage workarounds like sending temporary links, splitting files manually, or leaving resources unsent.
- Your brand takes a hit: A polished practice should feel easy to engage with.
For coaches using a coaching platform, there's another layer to think about. Platform workflows often involve upload constraints and server-side transcoding. The broader gap in compression advice is that it focuses on tools, not coaching delivery. That matters because platform-specific optimization changes what “good compression” looks like, especially when educational uploads often fail due to size and server-side recompression can punish already over-compressed files, as noted in this analysis of coaching platform upload issues.
Practical rule: Don't aim for the smallest file. Aim for the smallest file that still survives upload, platform processing, and client playback.
Smart compression beats aggressive compression
Many coaches get tripped up when they export a huge raw video, panic, then run it through the harshest compressor they can find. The file becomes smaller, but the result often looks soft, blocky, or unstable after the platform compresses it again.
That's the enemy: double compression.
A good coaching video doesn't need cinema settings. It needs clear faces, readable slides, understandable audio, and predictable playback. If your client can open it quickly and watch it without distraction, you've done the job.
Here’s the mental shift that makes everything easier:
Small is not the goal. Usable, upload-friendly, and client-friendly is the goal.
Once you work from that standard, the decisions get much cleaner.
Understanding the Five Levers That Control Video File Size
Most video advice feels harder than it needs to be because it treats compression like a dark art. It isn't. File size responds to a handful of controllable settings. Once you understand them, you stop guessing.

Think of these as five levers. Pull the right one, and you cut file size without wrecking quality. Pull the wrong one too hard, and the video falls apart.
Resolution
Resolution is the frame size of the video. Common examples are 4K, 1080p, and 720p.
For coaching videos, resolution is often the fastest win. Dropping from 4K (3840x2160) to 1080p (1920x1080) removes 75% of the total pixels, which translates to a comparable 75% reduction in file size according to this video compression breakdown. That same source explains why: 4K has about 8.3 million pixels per frame, while 1080p has about 2.1 million.
If you're recording a Zoom-style session, a talking-head lesson, or a screen share with large text, 4K is usually wasteful. Your clients are often watching on laptops, tablets, or phones. They don't need that much pixel data to get a crisp result.
A simple example:
- You record a weekly mindset lesson on your phone in 4K because that's the camera default.
- The client watches it in a browser window, not full-screen on a giant display.
- You keep the giant file but gain almost nothing they can see.
That's why resolution should be the first lever you check.
Bitrate
Bitrate controls how much data the video uses over time. You can think of it as the video's allowance for detail.
Higher bitrate usually means more visual information. It also means larger files. Lower bitrate means less data, but if you push it too low, faces get mushy, text gets fuzzy, and movement breaks into blocks.
Coaches often make a bad trade without realizing it. They hear “smaller file” and slash bitrate too far. The video still uploads, but now their screen share looks rough and their client's first impression is “why does this look so cheap?”
A better way to think about bitrate is selective restraint. Coaching videos don't need excess. They do need stability.
If text on a worksheet or slide matters, protect clarity before chasing extra size savings.
Codec
A codec is the method used to compress and store the video. This is one of the most important levers because two videos can look similar while one takes much less space.
For most coaches, the practical choice is between H.264 and H.265. H.265 is newer and more efficient, but it can create compatibility issues on some older setups. That means the “best” codec depends on where the video is going and who needs to watch it.
An easy analogy: if H.264 is a well-packed suitcase, H.265 is a vacuum-sealed suitcase. Both get your clothes there. One just uses space more efficiently.
Frame rate
Frame rate is how many images are shown each second. Typical values are 30fps and 60fps.
If you're filming sports drills or fast movement analysis, higher frame rate may matter. If you're delivering a coaching recap, teaching from slides, or recording a welcome video, it usually doesn't. Many coaches record at 60fps because their phone or webcam defaults to it, not because the content needs it.
That matters because extra frames create extra data. More motion smoothness isn't always more value.
Examples where 30fps is usually enough:
- A business coach walking through a strategy deck
- A life coach recording a reflective follow-up video
- A course module with a talking head and occasional screen share
Container and duration
The container is the file wrapper, such as MP4. It matters for compatibility and workflow, but it usually isn't the first place to look when you're trying to reduce size. For most coaching use cases, MP4 keeps life simple.
Duration is the last lever, and it's the one people ignore because it seems obvious. Longer videos are larger. That means trimming dead air, tech setup chatter, or the first minute where you're waiting for everyone to join is not cosmetic. It reduces file size and improves the experience.
Here’s a practical checklist before you export:
- Ask if 4K is necessary: For most coaching delivery, it isn't.
- Choose a modern codec carefully: Efficiency matters, but so does playback compatibility.
- Match frame rate to the content: Talking videos rarely need high frame rates.
- Trim before compressing: Don't compress footage your client never needed to see.
- Keep the container simple: MP4 is usually the safest handoff format.
Once you understand these levers, compression stops feeling random. You can look at a too-large file and know where to act first.
Your Go-To Toolkit for Smart Video Compression
You do not need ten apps for this. You need a short list of tools and a clear reason to use each one.
The biggest mistake I see is tool confusion. Coaches bounce between export windows, browser compressors, and random mobile apps, hoping one magic button will solve everything. A better setup is simple: one tool for control, one for convenience, and one fallback option for quick fixes.
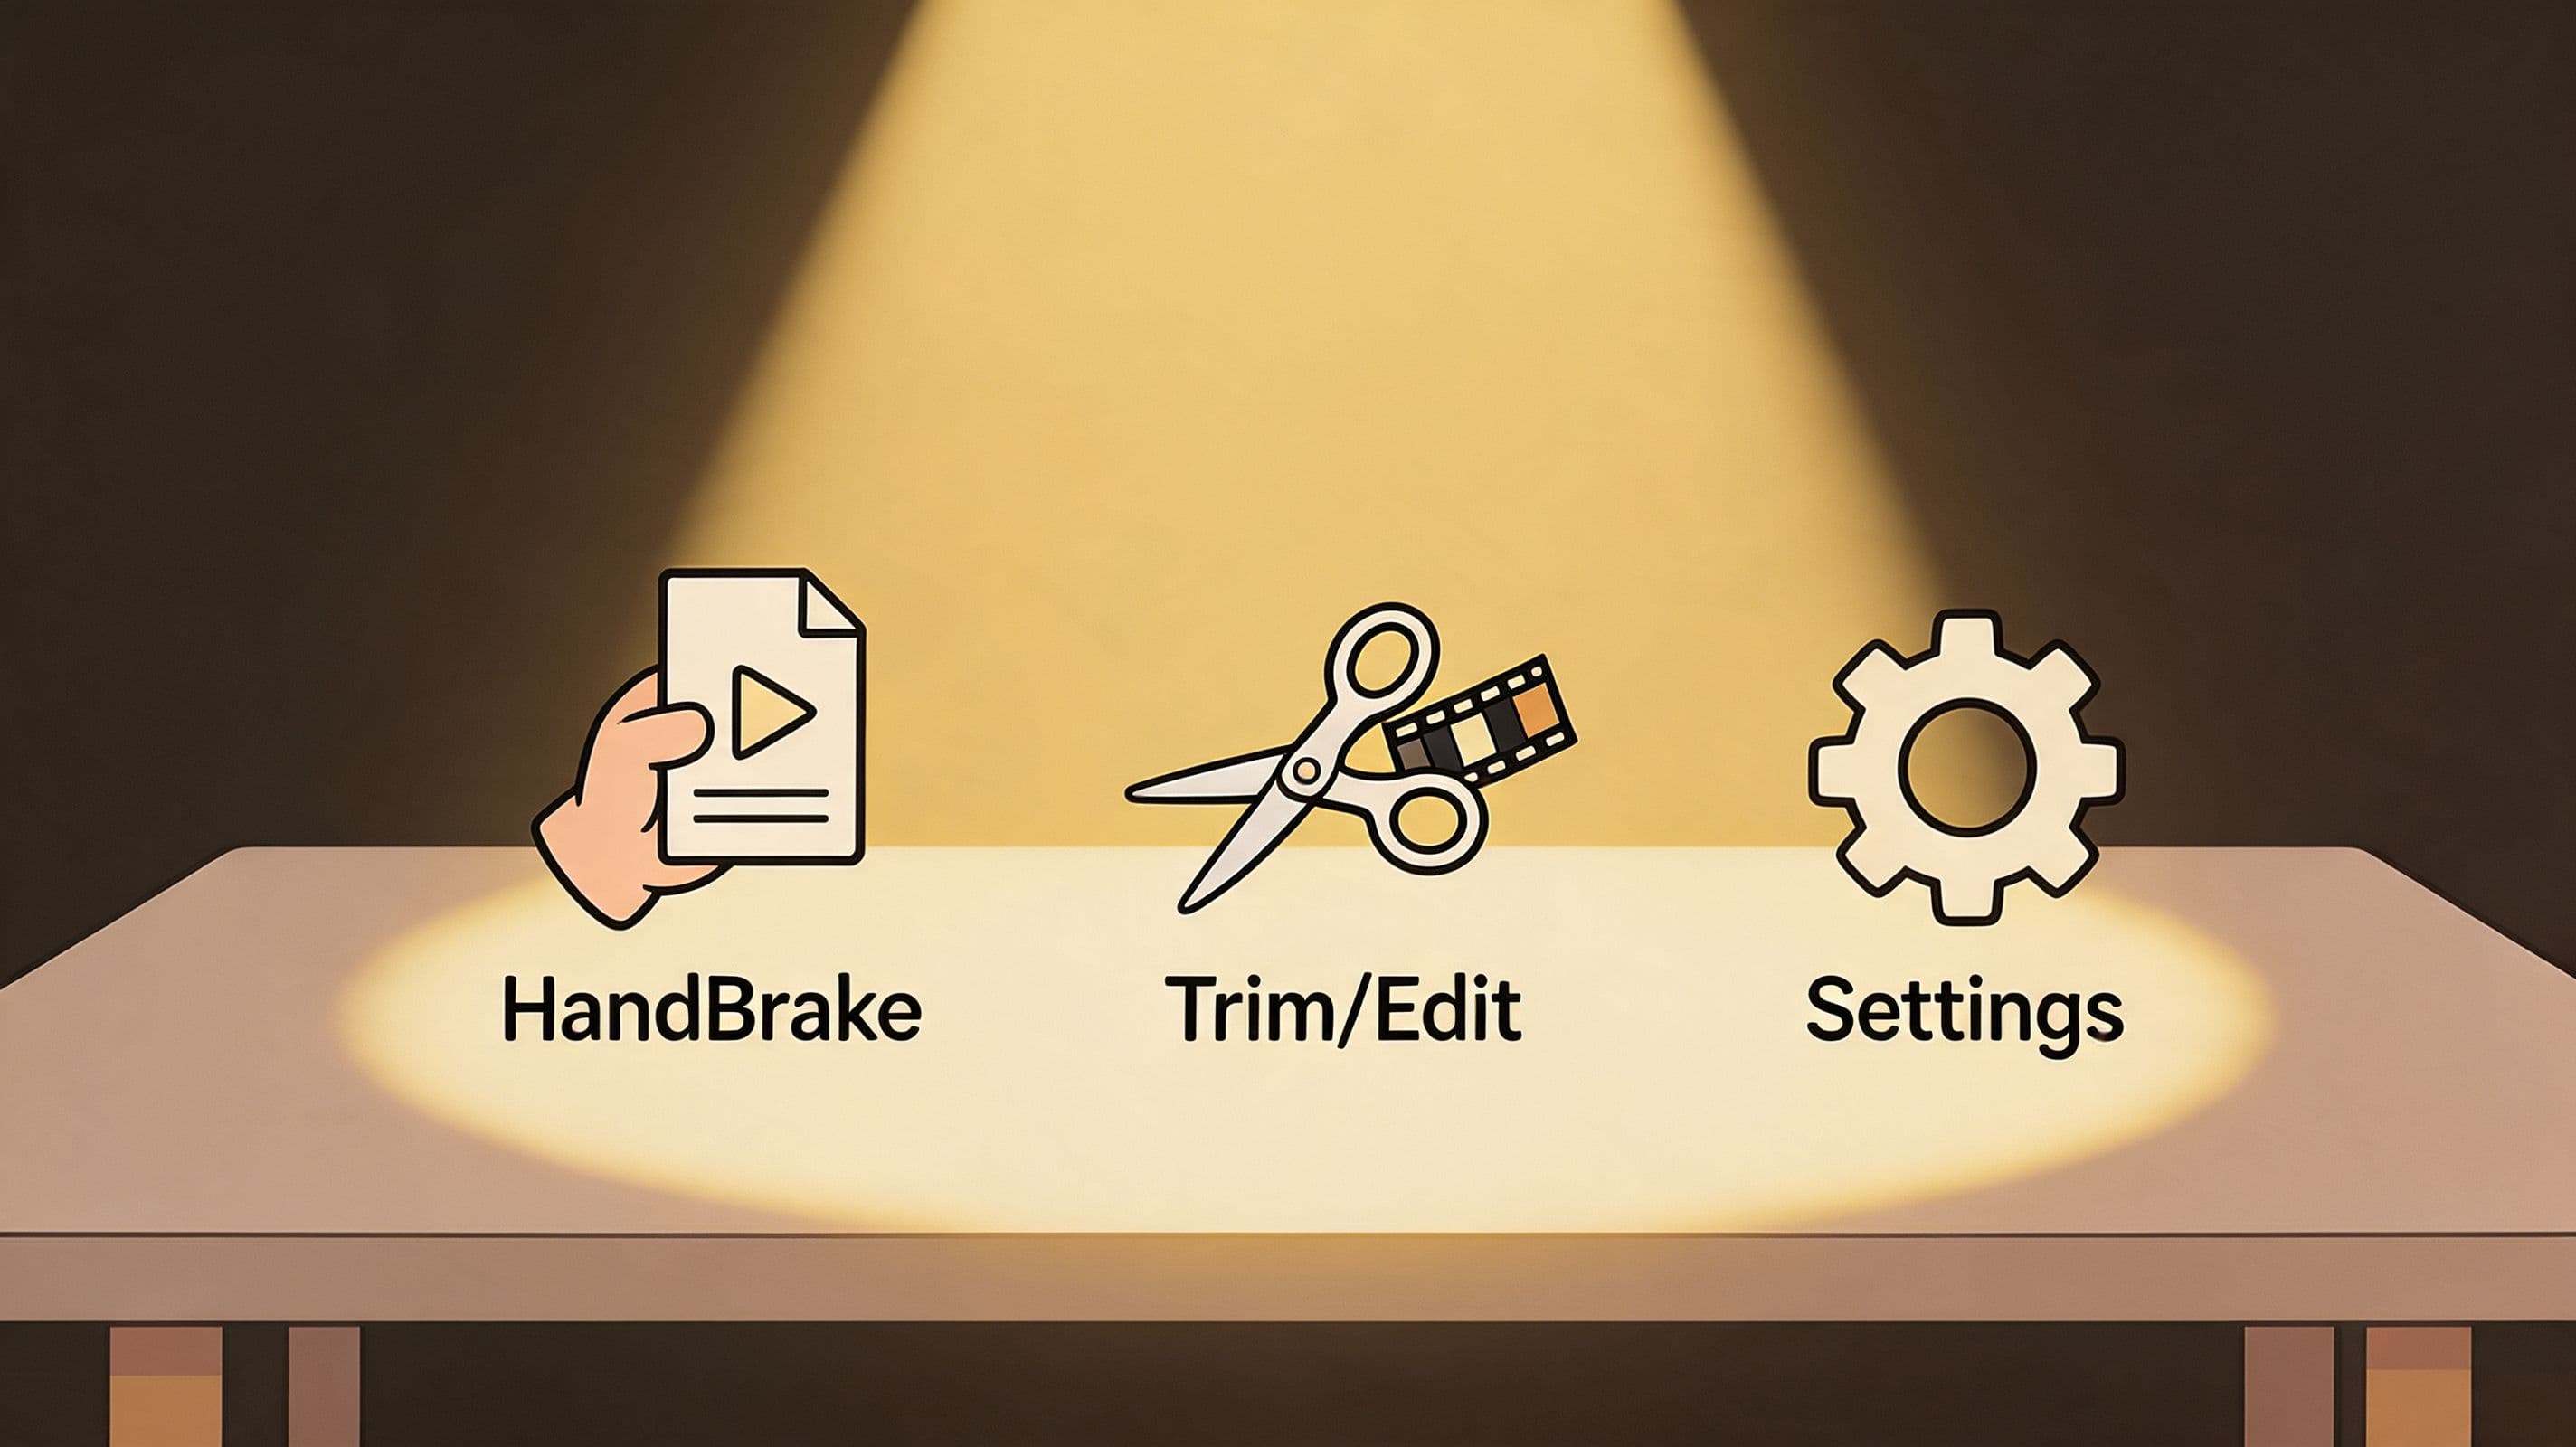
HandBrake for repeatable results
If you want one free tool that consistently solves large-file problems, use HandBrake. It's available for Mac, Windows, and Linux, and it gives you far more control than most built-in export menus.
For coaching videos, start with a practical workflow rather than endless experimentation. Open the source video, choose a preset like Fast 1080p30 or Fast 720p30, then go to the Video tab. There, switch from H.264 to H.265 (x265). According to this HandBrake compression guide, H.265 delivers 50-60% better efficiency than H.264. The same source notes that, in benchmarks, moving from H.264 to H.265 at RF 22 cuts file size by 40-50% with no visible quality loss on standard displays, and a 1GB file can shrink to 500-600MB.
For 1080p coaching videos, keep the Constant Quality setting around RF 22-24. That gives you a solid balance between size and appearance. If the content is mostly talking and not high motion, you can also reduce frame rate from 60fps to 30fps, which can cut size by about 50%, based on the same verified guidance in that source.
Use 2-pass encoding when you want cleaner allocation of bitrate across simple and complex scenes. It's slower, but useful for mixed-content videos like coaching modules that combine talking head, slides, and screen recordings.
The exact HandBrake setup I recommend for coaches
Use this if you want a default recipe:
- Preset: Fast 1080p30 for most modules and session replays
- Codec: H.265 (x265)
- Quality: RF 22 to 24 for 1080p
- Frame rate: 30fps unless the content needs smoother motion
- 2-pass: Turn it on when the video has variable scenes or screen-share detail
- Container: MP4 for broad compatibility
That setup won't solve every scenario, but it handles most of the videos coaches send.
Field note: If you're compressing before uploading to a platform that will process the file again, don't push quality too low just to save a few more megabytes. That decision often comes back as playback artifacts later.
QuickTime and editing apps for fast convenience
Sometimes you don't need HandBrake. You need a smaller file in two minutes because a client is waiting.
If you're on a Mac, QuickTime Player is good for quick exports. Open the file, export at a lower resolution, and you're done. That's useful for welcome videos, short check-ins, or any situation where speed matters more than fine control.
If you edit in Adobe Premiere Pro, Final Cut Pro, CapCut, or even iMovie, the best move is to create one preset specifically for coaching delivery. That way you aren't re-deciding settings every time. Name it something obvious, like “Client Replay 1080p” or “Course Module Upload.”
A simple example:
- You record a 12-minute onboarding lesson.
- You trim the beginning and end in your editor.
- You export with your saved preset.
- You only open HandBrake if the result is still larger than you'd like.
That workflow keeps compression from becoming its own side job.
When online compressors help and when they don't
Browser-based compression tools can be handy for low-stakes situations. They work best when:
- You need speed: A quick shrink before sending a temporary clip
- The content isn't sensitive: No private client conversation, confidential strategy, or personal data
- You don't need control: “Good enough” is acceptable
They are not my first choice for client session recordings. Privacy matters. So does consistency. Many online tools also hide settings behind vague labels like “smaller file” or “best quality,” which makes troubleshooting harder later.
If you want extra reading on how to handle large video files, that resource is useful as a broader companion to the workflow here, especially if you're comparing general file-reduction approaches outside a coaching context.
Mobile workflows for coaches on the move
A lot of coaches create content on phones. A quick encouragement video, a walking reflection, a check-in after an event. Those videos don't need a desktop-level process every time.
What matters on mobile is prevention:
- Record at 1080p instead of 4K when you know the video is for coaching delivery
- Keep takes tight so you're not compressing unnecessary footage later
- Trim before export inside your editing app
- Avoid stacking filters and exports that force extra processing
If you create a lot of educational or marketing content from your phone, it also helps to discover content sites for your coaching practice so the creation process and the publishing process stay aligned.
For a visual walkthrough of compression choices and settings, this short demo helps clarify what the tools are doing behind the scenes:
The right tool for the right job
Here’s the simplest way to choose:
| Situation | Best tool | Why | | | | | | Full client replay that needs clean quality | HandBrake | Most control over codec, quality, and size | | Short welcome or check-in clip | QuickTime or your editor | Fast export, low friction | | Edited lesson already in Premiere or Final Cut | Built-in export preset | Keeps workflow simple | | One-off non-sensitive clip | Online compressor | Fine for speed, not ideal for private coaching content | | Mobile-created social or quick update | Phone editor plus trim/export | Prevents desktop rework |
The goal isn't to become obsessed with tools. It's to stop losing time to the same avoidable file problem every week.
The Coachful Compression Blueprint Optimal Settings for Every Scenario
Coaches don't create one kind of video. A session replay is different from a polished course lesson. A welcome message is different again. That means your compression settings should reflect the job the video needs to do.
The easiest way to make good decisions is to use a small set of repeatable recipes.
Scenario-based decisions work better than one universal preset
A common mistake is trying to find one export setting for everything. That rarely works. The visual demands of a screen-share module are different from a simple selfie video. The consequences of softness are different too. If a client can't read a framework slide, the video has failed even if the file is wonderfully small.
Use the recipe that matches the content, not the one that happened to work last week.
Upload preparation should start with the question, “What must stay clear in this video?” Not, “How small can I make it?”
Video Compression Recipes for Coaches
| Video Type | Recommended Tool | Key Settings (Resolution, Bitrate) | Target Size / 10 min | | | | | | | Full recorded coaching session | HandBrake | 1080p, use H.265, RF 22-24, 30fps if motion is low | Aim for a manageable upload-friendly file rather than maximum compression | | Course module with slides or screen share | HandBrake or editor export preset | 1080p, preserve clarity first, avoid aggressive compression before platform upload | Keep text readable and test the uploaded preview | | Quick welcome or check-in video | QuickTime or mobile editor | 720p or 1080p depending on framing, moderate compression, simple MP4 export | Favor instant playback and ease of upload | | Social teaser cut from a longer lesson | Editor or mobile app | Match export to the destination platform and crop intentionally | Keep the clip short and format-specific |
Blueprint for a full coaching session replay
This is the file many coaches struggle with most. It's long, often recorded automatically, and usually larger than it needs to be.
Use HandBrake. Start with Fast 1080p30, switch to H.265, and keep quality in the RF 22-24 range. If the source was captured at 60fps but the session is mostly conversation, drop to 30fps. That's one of the cleanest ways to cut file weight without harming the usefulness of the replay.
Do not over-compress this kind of file before upload. Session recordings often get processed again on the platform side. If you crush the file too hard yourself, you'll notice the damage later in skin tones, text edges, and motion.
Blueprint for a paid course module
Course content deserves a little more caution because clients may rewatch it many times, and slides or diagrams often carry the teaching.
For modules, 1080p is usually the right choice. Keep text protection as your standard. If you're using HandBrake after exporting from Premiere or Final Cut, compress lightly rather than aggressively. Watch the uploaded preview before publishing the entire lesson library.
Good example: a business coach teaching a scorecard framework with small spreadsheet text. In that case, preserving legibility matters more than squeezing out the last bit of file size.
If part of your content strategy includes short-form clips pulled from longer training, this guide to mastering TikTok and Reels video formats is useful because short vertical assets need different framing and export choices than your core coaching library.
Blueprint for welcome videos and check-ins
These are low-risk, high-frequency videos. They should feel fast and personal, not overproduced.
Use QuickTime or your mobile editor. If the framing is simple and the message is short, 720p often works well for instant playback. If appearance matters more, keep 1080p but trim tightly and use moderate compression.
Examples:
- A welcome video sent after enrollment
- A short accountability check-in recorded from your phone
- A “things to focus on this week” video after a group call
In these cases, responsiveness beats perfection. The client cares more that it opens immediately than whether the image carries extra detail no one asked for.
One operating rule to keep
Before uploading any important video, test one file all the way through the actual platform workflow. Upload it, let the platform process it, then watch the result on desktop and phone.
That small habit saves hours. It also stops you from building an entire workflow around settings that only looked good on your computer.
Troubleshooting Common Video Compression Headaches
Most compression failures are not proof that you're bad with tech. They're predictable problems caused by one of a few settings or workflow habits.
When a coach tells me, “I followed the steps and the video still looks terrible,” the cause is usually identifiable. Calm diagnosis beats more random exporting.
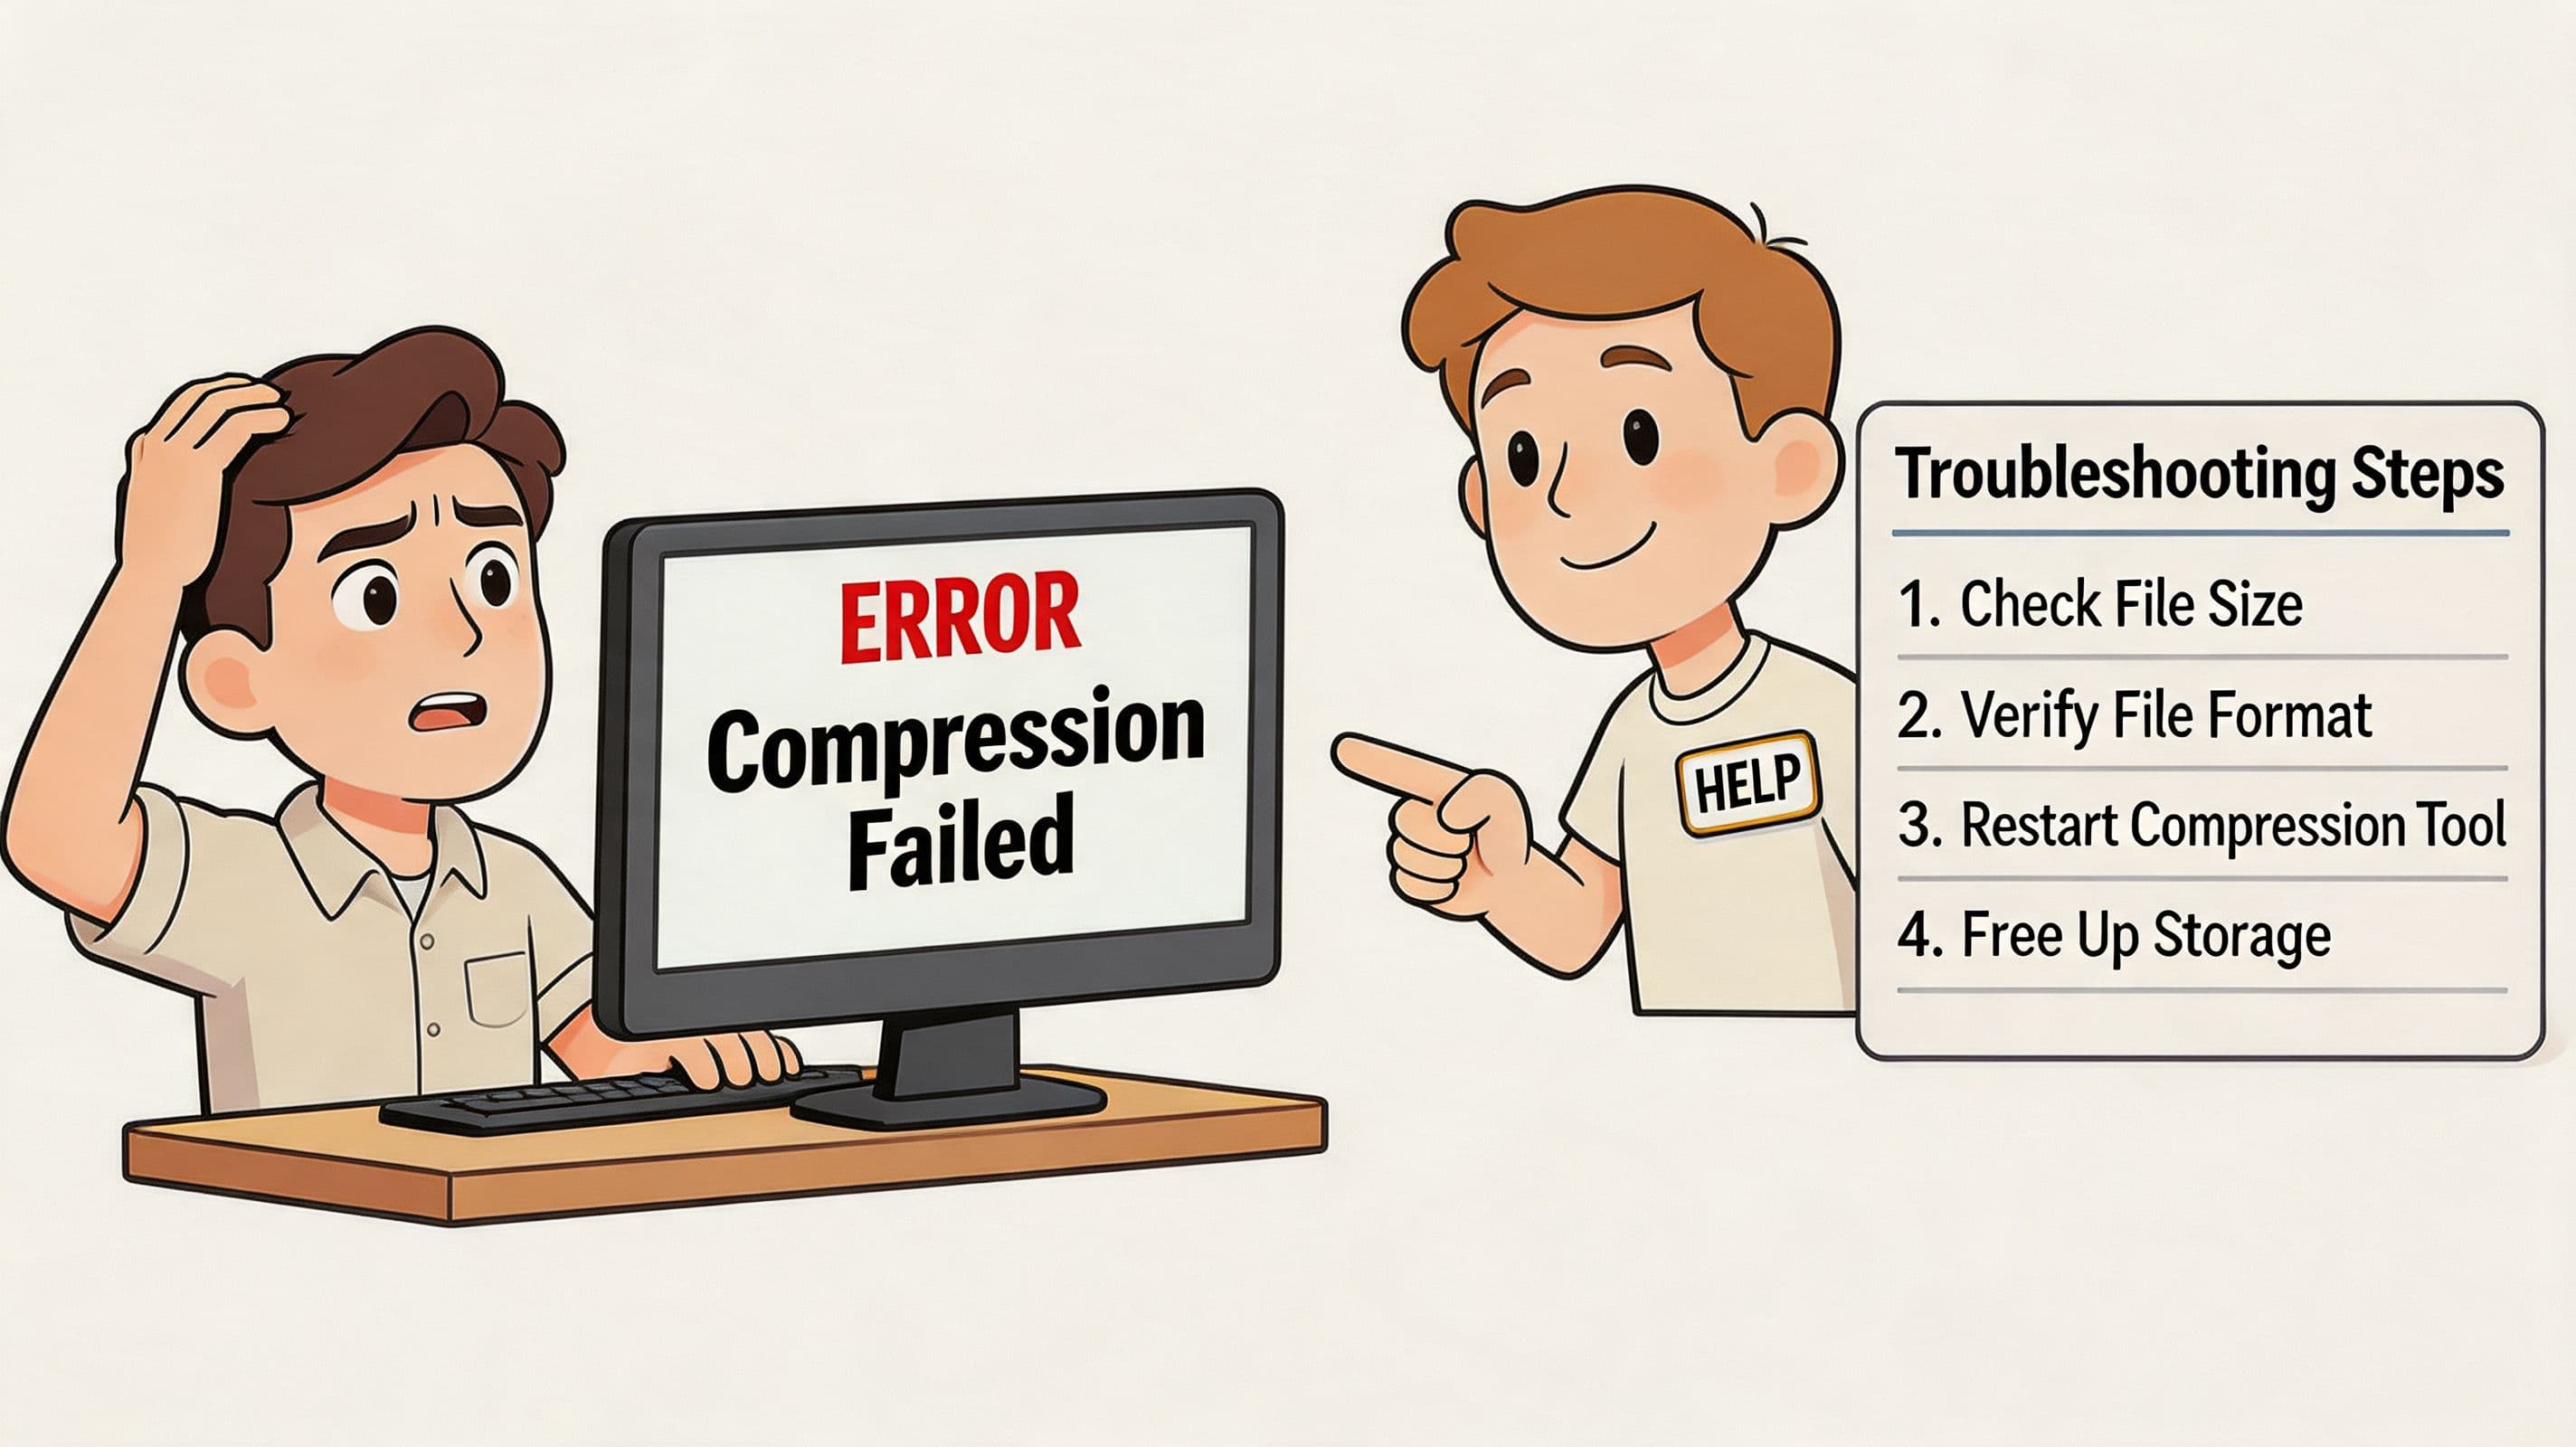
Your video looks blocky or soft
This usually isn't because compression “doesn't work.” It's because the file was pushed too far before upload, or the source wasn't suited to the settings you chose.
Common causes:
- Bitrate or quality was set too low: Text and faces lose detail first.
- Resolution was reduced too aggressively: Fine interface elements become hard to read.
- The platform recompressed your already compressed file: This creates the classic double-compression look.
- Dark or visually busy scenes were encoded too hard: Artifacts show up faster there.
Fix it by backing off one step. Raise quality slightly. Keep resolution higher for screen shares. Re-export from a cleaner master instead of recompressing an already compressed file.
A file can be technically small and professionally unusable at the same time.
The file is still too big
If the file size barely changed, check whether you pulled the right lever.
Use this order:
- Trim unnecessary duration first
- Reduce resolution if the content doesn't need the original size
- Switch to a more efficient codec
- Lower frame rate if the content is mostly talking
- Only then push quality lower
That order protects watchability. Going straight to harsh quality reduction is what creates ugly results.
The audio and video drift out of sync
This tends to show up with screen recordings, webcam captures, and longer files that went through multiple exports.
Try these fixes:
- Re-export from the original recording, not from an already compressed copy
- Avoid converting the same file repeatedly across several apps
- Use one main compression tool instead of chaining together editor export, browser compressor, and mobile resend
- Check the source recording first to confirm the sync issue wasn't there from the start
If the sync issue appears only after compression, simplify the workflow. One clean encode is safer than three “helpful” conversions.
The platform rejects the upload
When that happens, coaches often assume the platform is broken. Sometimes the problem is format mismatch, unusual settings, or a file that's too heavy.
Check the basics:
- Use MP4 when possible
- Avoid obscure export presets
- Keep naming simple
- Test a shorter sample file first
- Watch the processed preview before uploading a full batch
This isn't glamorous work, but it turns chaos into a system. Once you know your stable settings, rejections become rare and much easier to fix.
Your Path to Effortless Video Sharing
Making videos smaller is not the primary job. Building a smoother client media workflow is.
When coaches handle video well, clients barely notice the mechanics. They just experience clear playback, fast delivery, and a business that feels organized. That's what compression is supposed to support. Not endless tinkering. Not anxious exporting. Not wasting half an afternoon trying to send a replay.
The good workflow is simple. Record with intention. Trim what isn't useful. Compress with the destination in mind. Upload one test file before you commit to a whole library. Keep a few presets and stop reinventing the process every time.
That same mindset also helps when you're turning long recordings into shorter assets. If you're planning to reuse session content or lessons for marketing, this guide on how to create short video assets is a practical next step.
And once your videos are clean, lightweight, and easy to share, distribution gets easier too. A simple link in bio for coaches can give clients and prospects one reliable place to access your key content without extra back-and-forth.
You don't need to become a video engineer. You need a dependable system that respects your time and your clients' attention. Once that's in place, video stops being a bottleneck and starts acting like it should: a useful extension of your coaching.
Coachful helps you run the rest of that client experience with the same clarity. If you want one place to manage programs, sessions, resources, communication, and follow-through, explore Coachful.